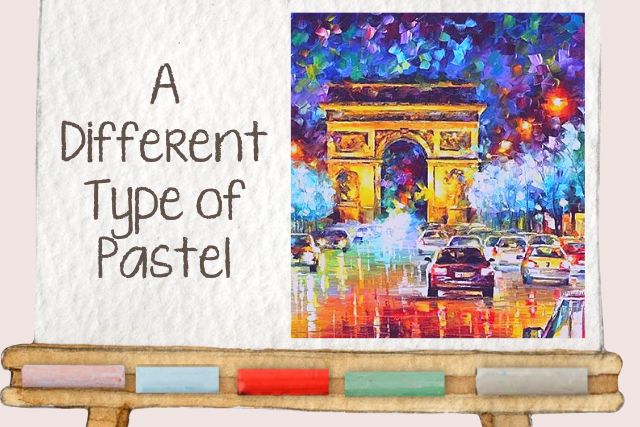
You might have heard of artists using oil pastels. They’re the younger, cooler kid brother to regular soft pastels, and they differ from soft pastels in that they use an oil and wax binder instead of a gum one.
The pigments they contain are the same though, so naturally enough, using oil pastels isn’t a world apart from using soft pastels. However, there are some key differences.
So, how do you get the best out of oil pastels? Follow these steps.
1) Choose the right surface.
Great art requires an appropriate ‘canvas’ (in the general sense of the word). Of course, for pastels, it’s not canvas you’ll likely be using, but paper.
Soft pastels require a paper with a ‘tooth’ (i.e. one that is textured or abrasive). However, the waxy binder in oil pastels means that, unlike sort pastels, they work well even on smooth papers. This is beneficial if you want to create artwork with a smooth texture, for example, a portrait with fine skin tones, as you can use smooth paper: this will help you get the finished effect you want.
Also, note that if you use toothy paper designed for soft pastels, you’ll find it much more time-consuming and pastel-consuming to lay down colour on it with oil pastels. Again, the solution is to use less toothy paper.
2) Plan ahead.
As with soft pastels, oil pastels are very easy to use – you just pick up a stick and go for it – but sometimes this works to your detriment, as you either won’t think a decision through properly, or you’ll overwork something rather than quitting while you’re ahead.
To get around this, start by doing some planning. Before touching your oil pastels, sketch out your design with a hard pastel or artists’ charcoal. When you’re happy with your sketch, lightly shade the areas that are going to be the darkest in your composition (you can use charcoal or a dark oil pastel), and also mark the highlight areas with a white (oil) pastel.
When you finish this prep work, you’ll have your composition figured out, as well as an idea of where the lightest and darkest areas of your artwork will be, and you can safely proceed with a free hand.
3) Use effective techniques.
When using oil pastels, there are a few technique tricks to remember.
First, oil pastels layer better than soft pastels, so don’t be afraid to use this technique. Two or three layers can give some beautiful effects.
Second, oil pastels require a firmer hand than soft pastels, as the pressure does the work, not the surface’s tooth. Ensure you are pressing firmly enough.
Third, you can use an impasto technique with oil pastels (this is where the paint/pigment is laid on so thickly that you can see its texture). Warm your sticks first – this will make them soft enough that you can use a palette knife to spread them around on your surface.
Lastly, oil pastels can produce an attractive wash or glaze effect. Just lay down some pigment on your paper, then take a brush dipped in turpentine and apply it to the pigment. With this technique, you can achieve any level of translucency you desire.
See Other Examples of oil painting.
If you’re wanting step by step lessons, head over to the Shop and view my books.


0 Comments