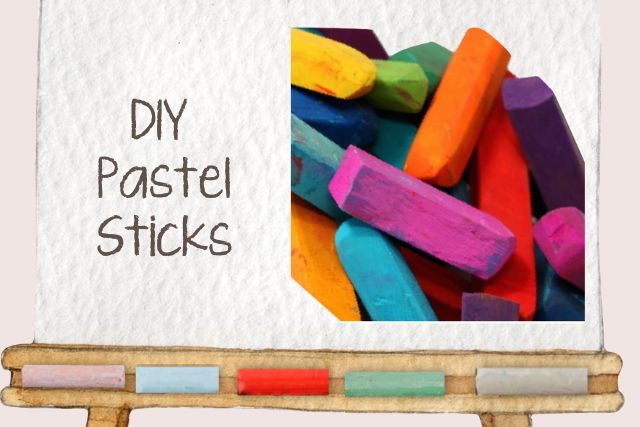
Save by making your own
There’s no shortage of commercially available pastels. You only need to walk into an art supply store to see the vast range of colors, values, sizes and manufacturers. So why would you want to make your own? There are mainly two reasons. The first reason to make your own pastels is cost. This is pretty self-explanatory. If you’re painting a lot, replacing your sticks often gets expensive.
The second reason to make your own pastels is control. As an artist, you want to control your tools, technique, and surface, so why not go the distance and make your own medium as well? With some practice, you can make pastel sticks of the exact color, size, shape, and softness that suit your technique best. No more buying sets of pastels and finding that 1/3 of them go unused; when you make pastels you only have to make ones you like and will use.
Happily, making pastel sticks is not difficult. They only contain a few ingredients, which need to be mixed together wet and then allowed to harden. However, different pigments bind differently: while some pigments have enough innate binding characteristics of their own, others need to be mixed with a binder (such as Gum Tragacanth) to form usable sticks. The first category is much easier to work with, and they’re the ones we’ll deal with in this lesson.
Pigments which don’t require a binder include all earth colors, Cadmium pigments, Titanium White, Cerulean Blue, Chromium Green Oxide, and all black pigments. Start with these, and move on to the more difficult pigments later if you’re game.
Step 1: Materials:
The most important material is, of course, the powdered pigment itself. You can buy this in jars from art supply stores (bricks-and-mortar or online). Remember, this guide is only for those pigments listed above.
You’ll also need a stabilizing mixture to combine with your pigment. Try a mix of 2/3 calcium carbonate and 1/3 talc (both are readily available in stores).
Finally, you’ll need some distilled water, a non-porous mixing surface (a glass plate works great), and a putty knife.
Step 2: Mix
Pour some pigment onto your mixing surface, add a little distilled water, and mix it into the pigment using a putty knife. You just want to moisten it. Now add your stabilizing mixture, and mix it until you get a nice firm dough that’ll easily hold a shape.
Step 3: Shape & Dry
Now shape or roll your dough into pastel sticks – whatever size and shape you want – and lay them out on a large sheet of paper to dry. When they’re dry, you’re finished!
Grab a copy of Pastel Painting Secrets for more on making your own pastels, as well as everything you will need to know about pastels

If you’re wanting step by step lessons head over to the Shop and view my books.
I’d appreciate you sharing this article:


0 Comments